5. "Frequency (KHz)" setting "20"
The second step: the purpose of this step is to play the previous hits carefully, so that the bottom of the pattern appears fine, so adjust the focus position before playing, and shake the head down about 1mm. The main parameters are set as follows, other parameters can be selected by software default settings.
1. Fill the "Line Spacing" setting to "0.02". This value must be the same as the value set in "First Step"
2. “Number of Machining” is set to “1”. If you feel that the bottom is not very flat after the beat, you can play it a few more times.
3. "Speed (mm/sec)" setting "2000"
4. "Power (%)" is set to "25", try not to use too much power
5. "Frequency (KHz)" setting "80"
PS: (In actual processing, you can skip this step and go directly to the third step. If you find that the effect is not satisfactory, add this step to see if the actual effect is improved. Because the materials are different, the actual effect will be different.)
Step 3: After the first two steps, the sample preparation is basically completed, but the surface of the sample will have black edges. Finally, it needs to be polished on the surface. At this time, the focus position should be kept as much as possible on the surface of the pattern that has been carved. Make a circle or square that is larger than the outer dimensions of the product, set the layer so that the product layer does not emit light, only the fill pattern on the surface. The main parameters are set as follows, other parameters can be selected by software default settings.
6. Fill the "Line Spacing" setting to "0.02". This value must be the same as the value set in "First and Second Steps".
7. "Processing number" is set to "2". If you feel that the surface is not very clean after playing, you can play it several times.
8. "Speed (mm/sec)" is set to "2000".
9. "Power (%)" is set to "50", or smaller, try not to use too much power.
10. "Frequency (KHz)" setting "80"
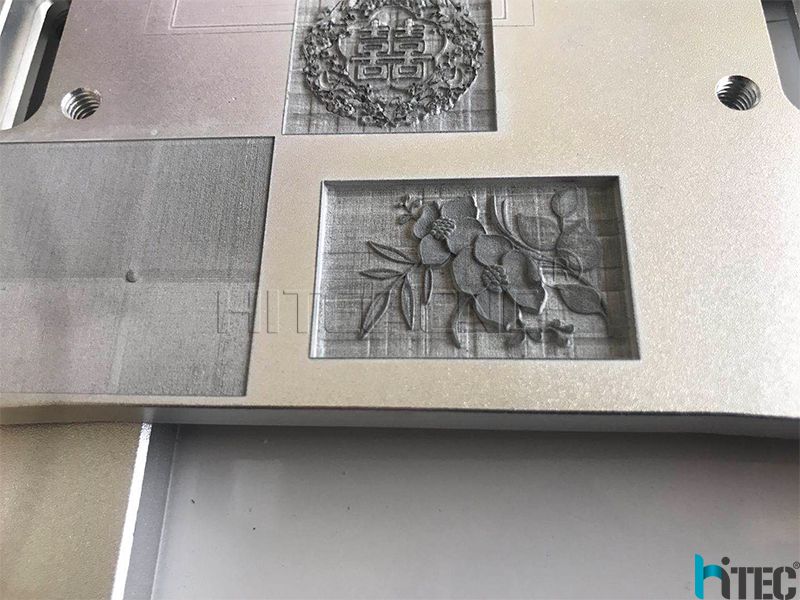
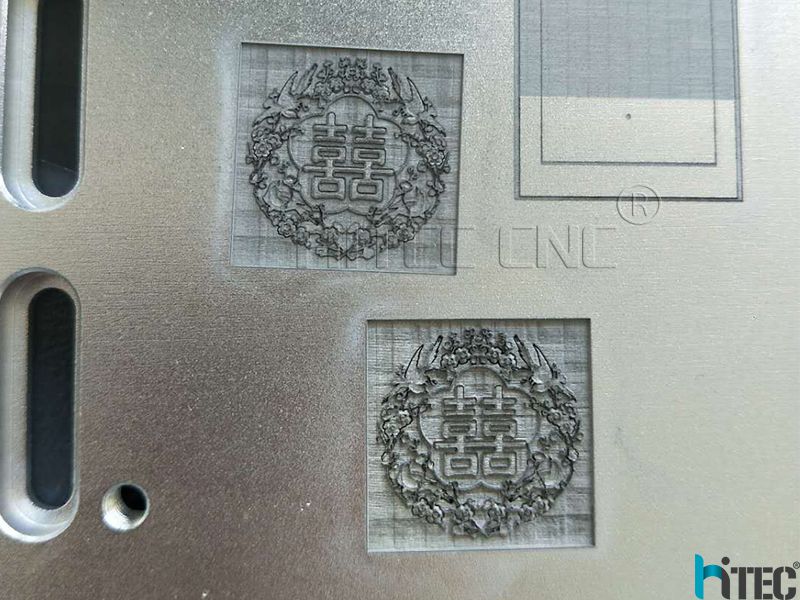
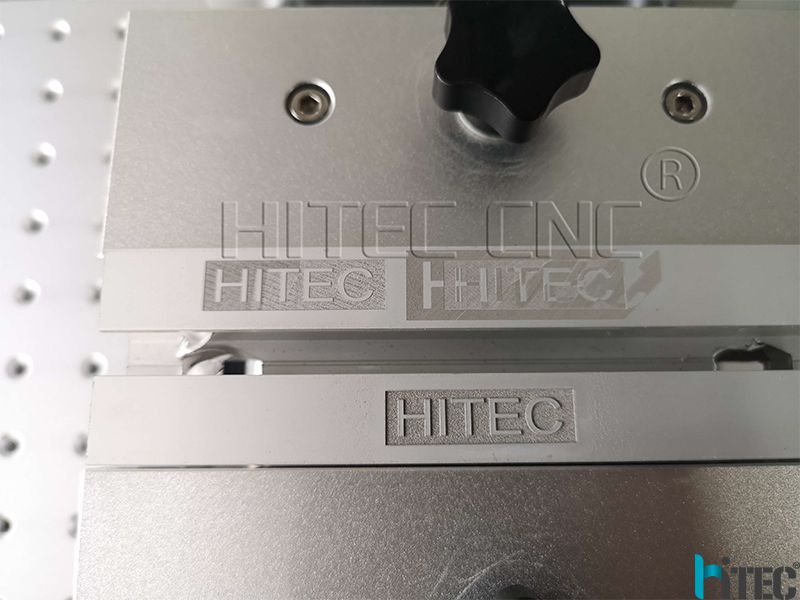
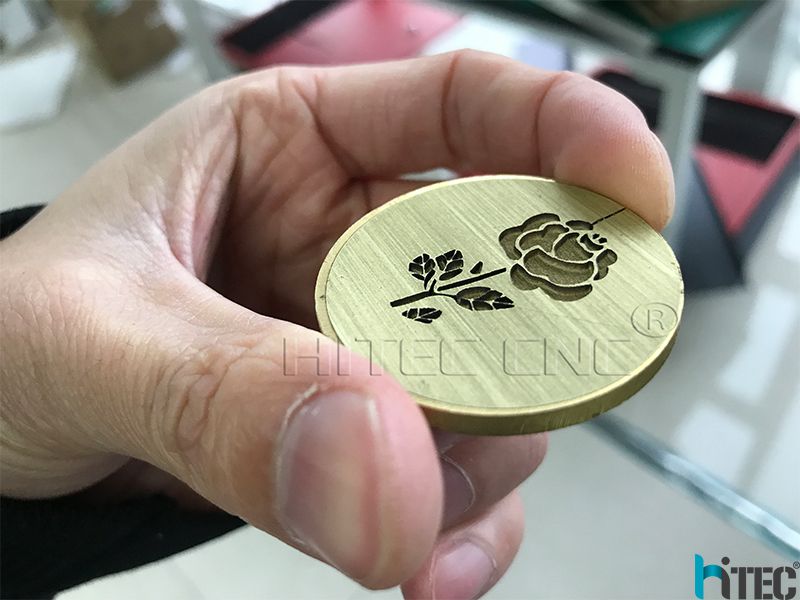
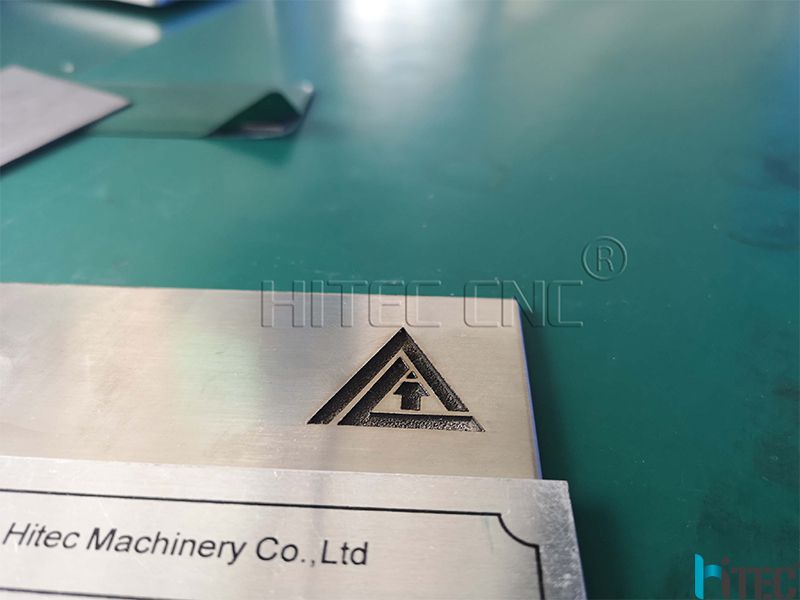
Here are the samples we have done before: